Post-processing is an essential part of modern photography workflow. Even the most perfectly composed and exposed images can benefit from thoughtful editing to bring out their full potential. Whether you're a beginner just starting your editing journey or an experienced photographer looking to refine your techniques, this guide will help you transform your good photos into great ones.
Why Post-Processing Matters
Post-processing isn't about "fixing" poor photography or creating unrealistic images. Rather, it's about:
- Refining your creative vision for an image
- Overcoming the limitations of camera sensors
- Enhancing the elements that initially attracted you to the scene
- Creating a consistent look across your body of work
Think of post-processing as the digital equivalent of darkroom techniques used by film photographers for decades. It's part of the creative process, not a shortcut or cheat.
Essential Software for Photo Editing
There are numerous photo editing applications available, ranging from free to subscription-based professional tools:
Adobe Lightroom Classic
Lightroom remains the industry standard for professional photographers, offering a comprehensive set of tools for organizing, developing, and exporting images. Its non-destructive editing workflow and powerful library management make it ideal for photographers who handle large numbers of images.
Key features: Library organization, batch processing, presets, seamless integration with Photoshop
Best for: Professional photographers and serious enthusiasts who need to manage large libraries
Adobe Photoshop
Photoshop offers pixel-level editing capabilities for detailed retouching, compositing, and creative effects. While more complex than Lightroom, it allows for precise control over every aspect of your image.
Key features: Layers, masks, advanced retouching tools, text and graphic capabilities
Best for: Detailed retouching, complex composites, and creative manipulation
Affordable Alternatives
- Capture One Pro: Excellent color editing and tethering capabilities, preferred by many commercial photographers
- Affinity Photo: A powerful, one-time purchase alternative to Photoshop
- DxO PhotoLab: Outstanding noise reduction and lens correction features
- Luminar AI/Neo: AI-powered editing with one-click enhancements
- Darktable: Free, open-source alternative to Lightroom
- GIMP: Free, open-source alternative to Photoshop
Pro Tip: Software Selection
Choose software that matches your workflow and goals. Many offer free trials—experiment with different options before committing. Consider your specific needs: Library management? Tethered shooting? Advanced retouching? Specialized features for landscape or portrait work?
Establishing a Basic Editing Workflow
A consistent editing workflow helps you achieve reliable results efficiently. While you'll develop your own process over time, here's a foundation to build upon:
1. Culling and Selection
Before diving into editing, select your best images:
- Review all images from a shoot and flag the best candidates (use stars, flags, or colors)
- Make a second pass through your selections to narrow down to your strongest images
- For client work, create separate collections for "selects" and "final edits"
2. Global Adjustments
Start with broad adjustments that affect the entire image:
Exposure and Contrast
- Exposure: Set the overall brightness of the image
- Contrast: Adjust the difference between dark and light areas
- Highlights & Shadows: Recover detail in bright and dark areas
- Whites & Blacks: Set the white and black points for optimal dynamic range
White Balance
- Temperature: Adjust the warmth or coolness of the image
- Tint: Fine-tune the green-magenta balance
White balance is both technical (achieving accurate colors) and creative (setting the mood of your image). For portraiture, slightly warmer tones often appear more flattering, while cooler tones can enhance the mood of certain landscapes.
Lens Corrections
- Apply lens profile corrections to remove distortion and vignetting
- Consider whether chromatic aberration needs correction
3. Targeted Adjustments
After global adjustments, refine specific areas of your image:
Tone Curve
The tone curve gives precise control over contrast in different tonal regions (shadows, midtones, highlights). Classic adjustments include:
- S-curve for increased contrast and color saturation
- Matte look by lifting the shadows (bottom left of curve)
- Split-toning effects by adjusting individual RGB channels
HSL/Color Panel
The HSL (Hue, Saturation, Luminance) panel allows you to target specific colors:
- Adjust hue to shift colors (e.g., make greens more yellow or blue more cyan)
- Increase or decrease saturation of specific color ranges
- Modify the brightness (luminance) of individual colors
This is particularly useful for enhancing skies, foliage, and skin tones without affecting other areas of your image.
Local Adjustments
Use these tools to affect only specific parts of your image:
- Gradient filters: Ideal for adjusting skies or foregrounds
- Radial filters: Perfect for highlighting or subduing specific areas
- Adjustment brush: For precise local adjustments to specific areas
4. Detail Enhancements
Sharpening
Apply sharpening appropriately for the image content and output medium:
- Use masking to apply sharpening only to edges and details
- Increase amount for images with fine detail or for prints
- Consider output sharpening based on final use (web, print, etc.)
Noise Reduction
- Balance luminance noise reduction (affects detail) with color noise reduction
- Apply more aggressively to shadow areas where noise is typically more visible
- Use masking or local adjustments to target high-noise areas
5. Creative Finishing Touches
Vignetting
A subtle vignette (darkening of the image corners) can direct attention to your subject and add a polished look:
- Use post-crop vignetting for a natural effect
- Keep it subtle—overly obvious vignettes appear amateurish
- Consider white vignetting for high-key images
Grain
Adding a touch of grain can:
- Create a film-like aesthetic
- Unify an image by reducing the "digital" look
- Hide minor imperfections in heavily processed areas
Split Toning / Color Grading
Apply different colors to shadows and highlights to create a cohesive look:
- Warm highlights with cool shadows create a cinematic look
- Subtle teal shadows with warm midtones work well for portraits
- Consider using complementary colors for a balanced look
6. Export and Output
Optimize your final files for their intended use:
- Web: JPEG format, sRGB color space, resize for online platforms
- Print: TIFF format, Adobe RGB or ProPhoto RGB color space, resolution appropriate for print size
- Client delivery: Consider providing both web-optimized and print-resolution files
Pro Tip: Create Export Presets
Save time by creating export presets for different output scenarios (social media, client proofs, print files, etc.). Include appropriate sizing, sharpening, and metadata settings in each preset.
Advanced Post-Processing Techniques
As you grow more confident with basic editing, consider these advanced techniques:
Frequency Separation
This Photoshop technique separates texture from color/tone, allowing you to retouch skin imperfections without losing texture. It's valuable for portrait retouching when you want natural-looking skin that maintains realistic texture.
Dodge and Burn
This technique involves selectively lightening (dodging) and darkening (burning) specific areas to enhance dimension and guide the viewer's eye:
- Create depth by accentuating natural highlights and shadows
- Enhance facial features in portraits
- Draw attention to specific elements
- Create more three-dimensional appearance in flat lighting conditions
For subtle, natural results, use low-opacity brushes (10-20%) and build up the effect gradually.
Color Theory in Editing
Understanding color relationships can elevate your editing:
- Complementary colors: Colors opposite on the color wheel (blue/orange, purple/yellow) create visual tension and impact
- Analogous colors: Colors adjacent on the color wheel create harmony and cohesion
- Color psychology: Different colors evoke different emotional responses—consider the feeling you want to convey
Luminosity Masks
These advanced masks allow precise targeting of specific brightness ranges in your image:
- Apply adjustments only to highlights, midtones, or shadows
- Create natural-looking HDR effects
- Make precise selections based on luminosity values
Focus Stacking
For scenes where you need extensive depth of field (macro photography, detailed landscapes):
- Take multiple images focused at different distances
- Combine them in Photoshop or specialized software (like Helicon Focus)
- Create images with front-to-back sharpness that wouldn't be possible in a single exposure
Exposure Blending
For high-contrast scenes that exceed your camera's dynamic range:
- Capture multiple exposures (bracketing)
- Blend them manually using masks in Photoshop or automatically using HDR software
- Create balanced images with detail in both highlights and shadows
Creating a Consistent Editing Style
Developing a recognizable editing style helps build your personal brand and creates cohesion across your portfolio:
Presets and Profiles
Create your own presets based on edits you frequently apply:
- Start with a preset as a foundation, then fine-tune for individual images
- Create variations for different lighting conditions (bright sun, overcast, indoor, etc.)
- Consider creating preset collections for different types of shoots
Color Palette Consistency
Develop a consistent approach to color:
- Identify colors you're consistently drawn to
- Consider how these colors complement your typical subject matter
- Create HSL adjustment presets that emphasize these colors
Editing for Different Genres
Different photography genres typically have different editing approaches:
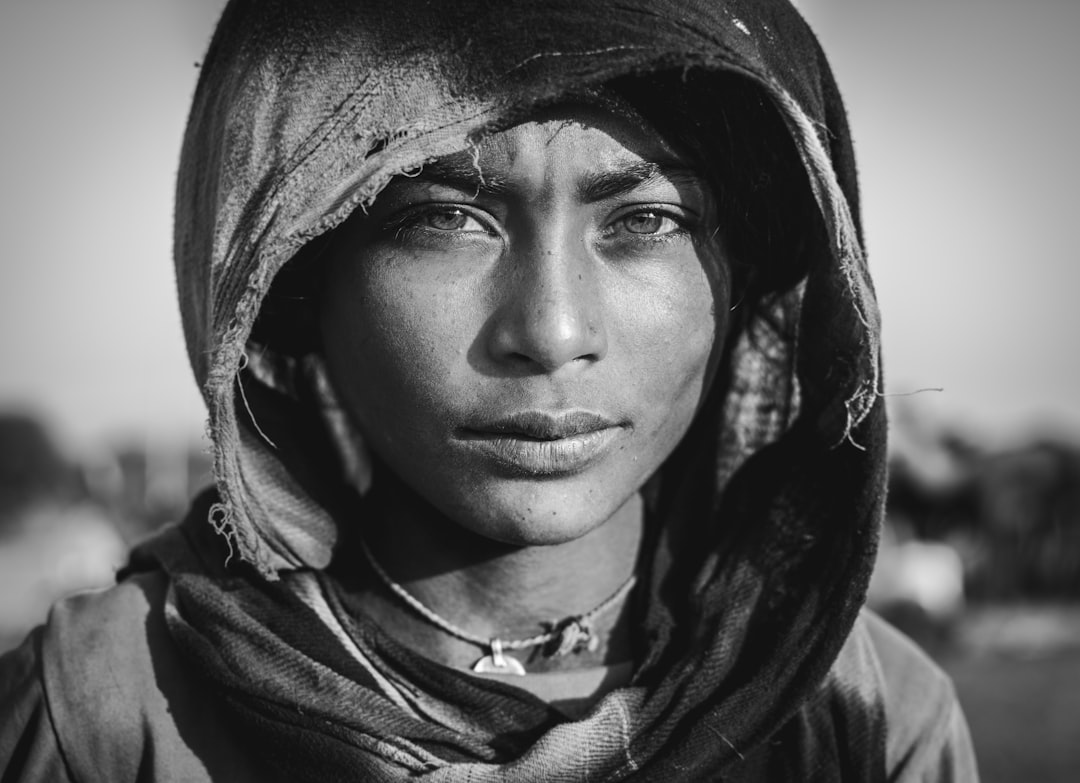
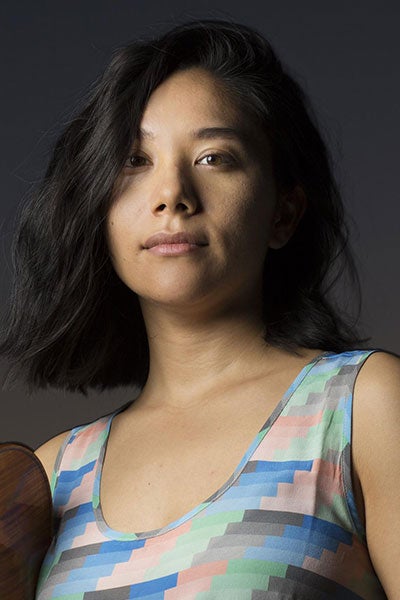
Portrait Editing
- Focus on flattering skin tones and natural-looking skin texture
- Use local adjustments to enhance eyes and facial features
- Consider the mood—professional headshots vs. creative portraiture
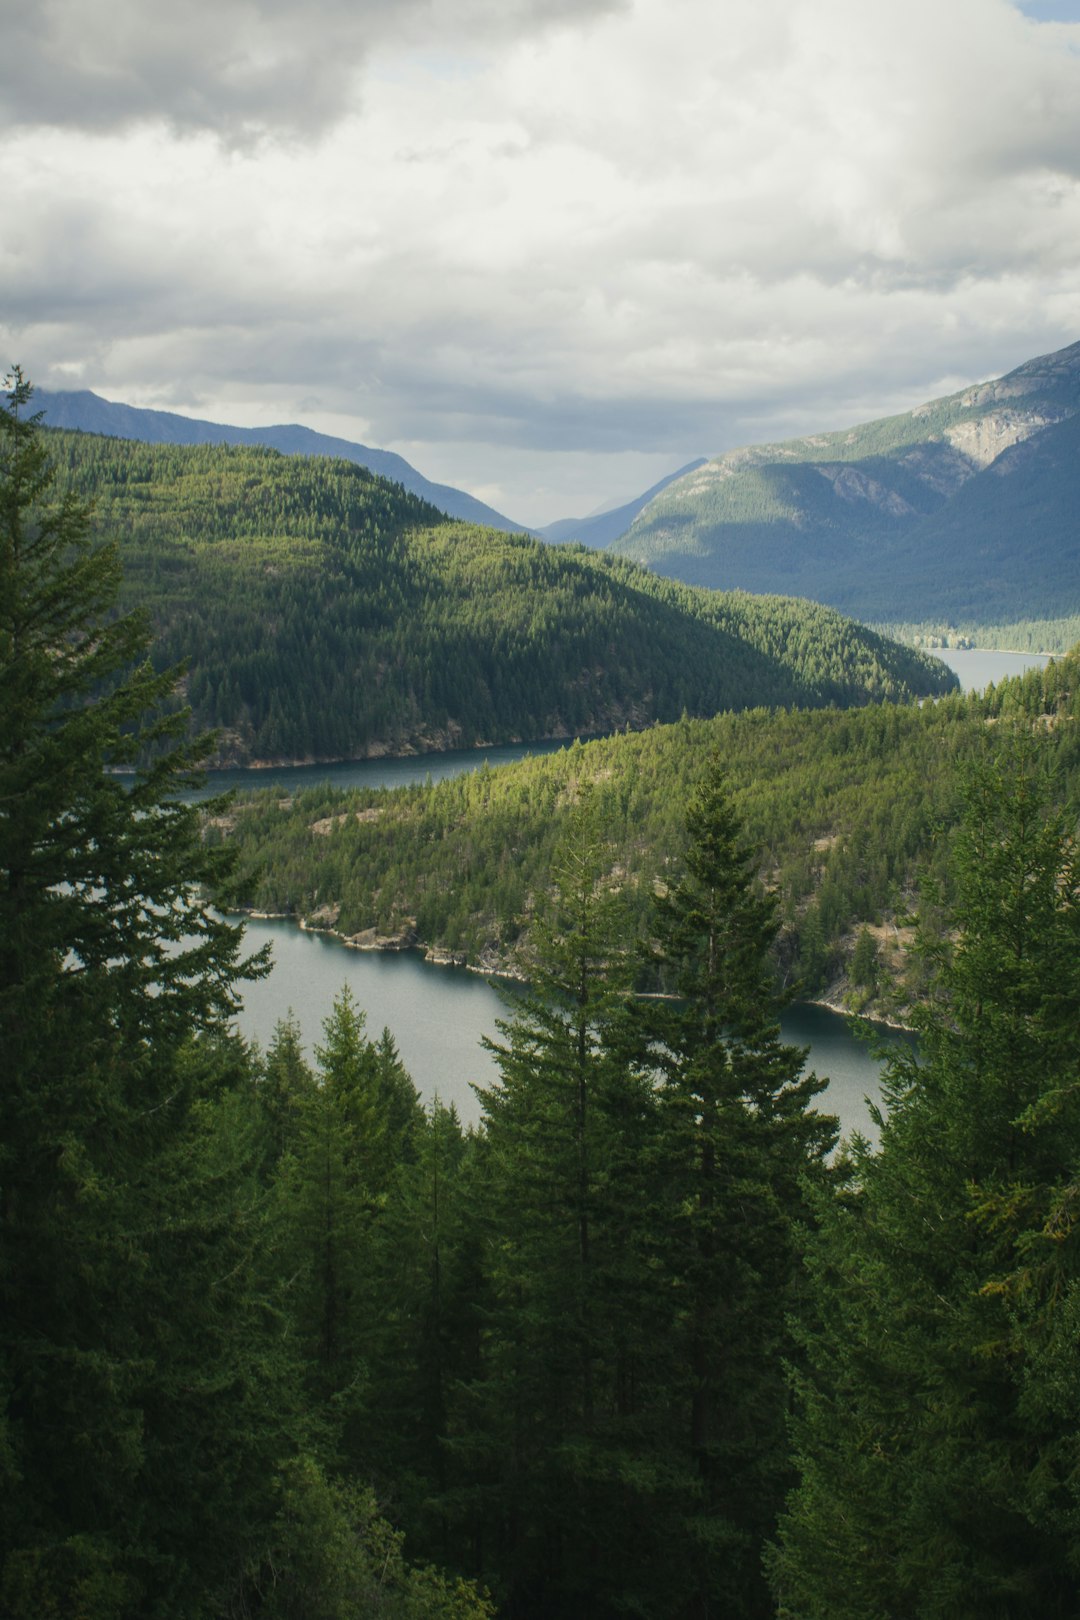
Landscape Editing
- Balance sky and foreground exposure
- Enhance colors while maintaining realism (unless pursuing a more artistic style)
- Use targeted adjustments for different elements (water, sky, mountains, etc.)
Street Photography
- Consider black and white for timeless appeal
- Embrace contrast and grain for a gritty, documentary feel
- Use subtle color grading to enhance mood and atmosphere
Pro Tip: Study the Masters
Analyze the editing style of photographers you admire. Look at color choices, contrast levels, and overall mood. Try to recreate these looks with your own images to understand the techniques, then adapt them to develop your unique style.
Post-Processing Ethics and Best Practices
Maintaining Authenticity
Consider the purpose of your image when deciding how much editing is appropriate:
- Photojournalism and documentary work require minimal manipulation
- Commercial and creative work allow more artistic license
- Be transparent about significant manipulations when relevant
Non-Destructive Editing
Always preserve your original files:
- Work with RAW files when possible
- Use adjustment layers in Photoshop rather than direct modifications
- Keep multiple versions of important edits
- Create virtual copies in Lightroom for different edit versions
Efficient Workflows
Streamline your process to save time:
- Use keyboard shortcuts to speed up common tasks
- Batch process similar images
- Create templates for recurring projects
- Consider outsourcing basic edits for large commercial projects
Learning and Growth
Post-processing is an ongoing learning journey:
Resources for Continued Learning
- Online courses (CreativeLive, Udemy, Skillshare)
- YouTube tutorials for specific techniques
- Photography forums for feedback and discussion
- Software-specific learning platforms (Adobe Learn, Capture One Learning Hub)
Feedback and Critique
Seek constructive feedback on your edits:
- Join photography groups or forums
- Compare before/after versions to evaluate your changes
- Look at your work with fresh eyes after taking a break
- Consider how your edits enhance (or distract from) the story you're trying to tell
Remember that post-processing is a tool to help you express your creative vision, not a substitute for good photography. The most effective editing begins with a well-composed, properly exposed image. As you develop your skills, you'll find your editing becomes more intentional and focused on enhancing your unique photographic style.
Melissa Grant
April 29, 2024Thanks for this comprehensive guide! I've been struggling with creating a consistent editing style. The tip about analyzing photographers I admire is really helpful—I'll start paying more attention to how they use color and contrast.
Carlos Rodriguez
April 30, 2024What are your thoughts on using AI editing tools like Luminar AI? Are they worth investing in, or should beginners focus on learning traditional editing techniques first?
Sophia Chen
May 1, 2024Great question, Carlos! AI tools like Luminar can be incredibly powerful and time-saving, but I do recommend learning traditional editing techniques first. Understanding the fundamentals of exposure, contrast, color, etc. will help you make better decisions even when using AI tools. Plus, AI tools sometimes produce results that need refinement, and knowing traditional techniques allows you to fine-tune those results. That said, there's no harm in experimenting with AI tools alongside learning manual editing—just don't rely solely on one-click solutions without understanding what's happening beneath the surface.